Hi
In this post we will see how to install Oracle 19c Database using RPM method with Vagrant Virtual box and via ansible playbook.
Pre-reqs
You need to have vagrant installed in your machine.
Steps:
- Download the repository for Vagrant and Ansible playbook here
- Download 19c database rpm from Oracle downloads and copy into your working folder
- simply run "vagrant up", this will create a virtual box and install oracle, create/configure a database
Here is the vagrant log file that build virtualbox for you.
C:\Users\gandhi\Documents\Ansible-Workshop\vagrantansibleoracle19c>vagrant up
Bringing machine 'oracledb' up with 'virtualbox' provider...
==> oracledb: Checking if box 'elastic/oraclelinux-7-x86_64' is up to date...
==> oracledb: Clearing any previously set forwarded ports...
==> oracledb: Clearing any previously set network interfaces...
==> oracledb: Preparing network interfaces based on configuration...
oracledb: Adapter 1: nat
==> oracledb: Forwarding ports...
oracledb: 22 (guest) => 2222 (host) (adapter 1)
==> oracledb: Running 'pre-boot' VM customizations...
==> oracledb: Booting VM...
==> oracledb: Waiting for machine to boot. This may take a few minutes...
oracledb: SSH address: 127.0.0.1:2222
oracledb: SSH username: vagrant
oracledb: SSH auth method: private key
==> oracledb: Machine booted and ready!
[oracledb] GuestAdditions 5.2.16 running --- OK.
==> oracledb: Checking for guest additions in VM...
==> oracledb: Setting hostname...
==> oracledb: Mounting shared folders...
oracledb: /vagrant => C:/Users/gandhi/Documents/Ansible-Workshop/vagrantansibleoracle19c
==> oracledb: Machine already provisioned. Run `vagrant provision` or use the `--provision`
==> oracledb: flag to force provisioning. Provisioners marked to run always will still run.
Playbook Log, run "vagrant provision" if you want to provision only.
C:\Users\gandhi\Documents\Ansible-Workshop\vagrantansibleoracle19c>vagrant provision
==> oracledb: Running provisioner: ansible_local...
Vagrant has automatically selected the compatibility mode '2.0'
according to the Ansible version installed (2.3.2.0).Alternatively, the compatibility mode can be specified in your Vagrantfile:
https://www.vagrantup.com/docs/provisioning/ansible_common.html#compatibility_mode
oracledb: Running ansible-playbook...PLAY [oracledb] ****************************************************************
TASK [Gathering Facts] *********************************************************
ok: [oracledb]TASK [Update /etc/hosts from inventory] ****************************************
ok: [oracledb] => (item=oracledb)TASK [Create Disk Partion] *****************************************************
ok: [oracledb]TASK [Format Partition] ********************************************************
ok: [oracledb]TASK [Mount the Partition] *****************************************************
ok: [oracledb]TASK [copy rpm file to server] *************************************************
changed: [oracledb]TASK [download pre-reqs] *******************************************************
changed: [oracledb]TASK [install pre-reqs rpm] ****************************************************
changed: [oracledb]TASK [provide permission to create folder /opt/oracle] *************************
changed: [oracledb]TASK [install oracle database software rpm] ************************************
[WARNING]: Consider using file module with owner rather than running chown
changed: [oracledb]TASK [create database using configure script] **********************************
changed: [oracledb]
PLAY RECAP *********************************************************************
oracledb : ok=10 changed=5 unreachable=0 failed=0
Configure Oracle Database using pre-defined script that comes with RPM
[root@oracledb19c init.d]# /etc/init.d/oracledb_ORCLCDB-19c configure
Configuring Oracle Database ORCLCDB.
Prepare for db operation
8% complete
Copying database files
31% complete
Creating and starting Oracle instance
32% complete
36% complete40% complete
43% complete
46% complete
Completing Database Creation51% complete54% complete
Creating Pluggable Databases
58% complete
77% complete
Executing Post Configuration Actions
100% complete
Database creation complete. For details check the logfiles at:
/opt/oracle/cfgtoollogs/dbca/ORCLCDB.
Database Information:
Global Database Name:ORCLCDB
System Identifier(SID):ORCLCDB
Look at the log file "/opt/oracle/cfgtoollogs/dbca/ORCLCDB/ORCLCDB1.log" for further details.
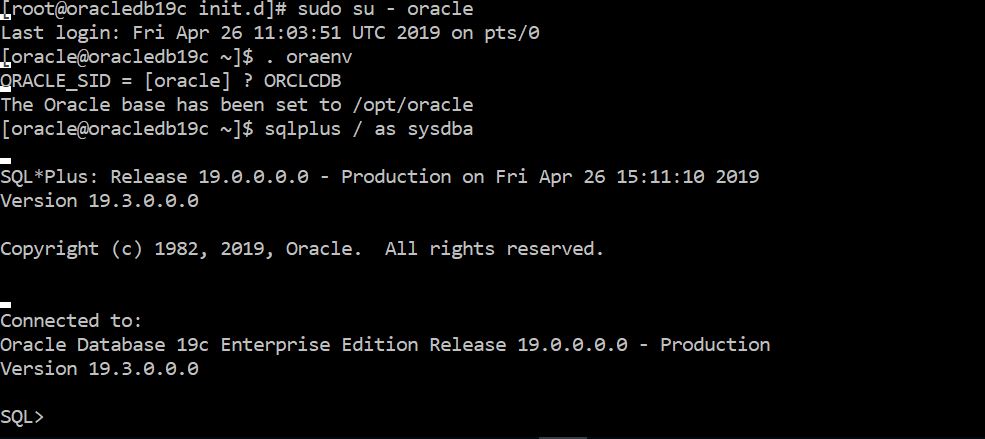
Oracle 19c database is ready and log on to it and practice .
Thanks
Suresh
Follow Me!!!